前面已经介绍了大部分FAST数据类型和操作符的解析方法,认真看完的话就可以自己去实现一个FAST数据解析工具了,然而实际上并没有必要重新造轮子。
开源的FAST协议解析库有quickfast以及mFAST,都是用c++开发的
根据mFAST的文档来看,mFAST性能要比quickfast好一些。
从编译依赖库来看,两者都需要用到boost库的一些hpp文件,quickfast还需要一些别的东西,mFAST需要依赖tinyxml2。
综上,建议使用mFAST。
mFAST编译
1
|
$ git clone --recursive https://github.com/objectcomputing/mFAST.git
|
先将代码clone到本地,然后进入到mFast目录,创建build文件夹。
1
2
|
$ cd mFAST
$ mkdir build
|
去https://www.boost.org/下载boost库,解压到/usr目录下,设置BOOST_ROOT环境变量
1
2
|
$ tar -C /usr -xvf boost_1_64_0.tar.gz
$ export BOOST_ROOT=/usr/boost_1_64_0
|
进入刚刚创建的build目录,执行
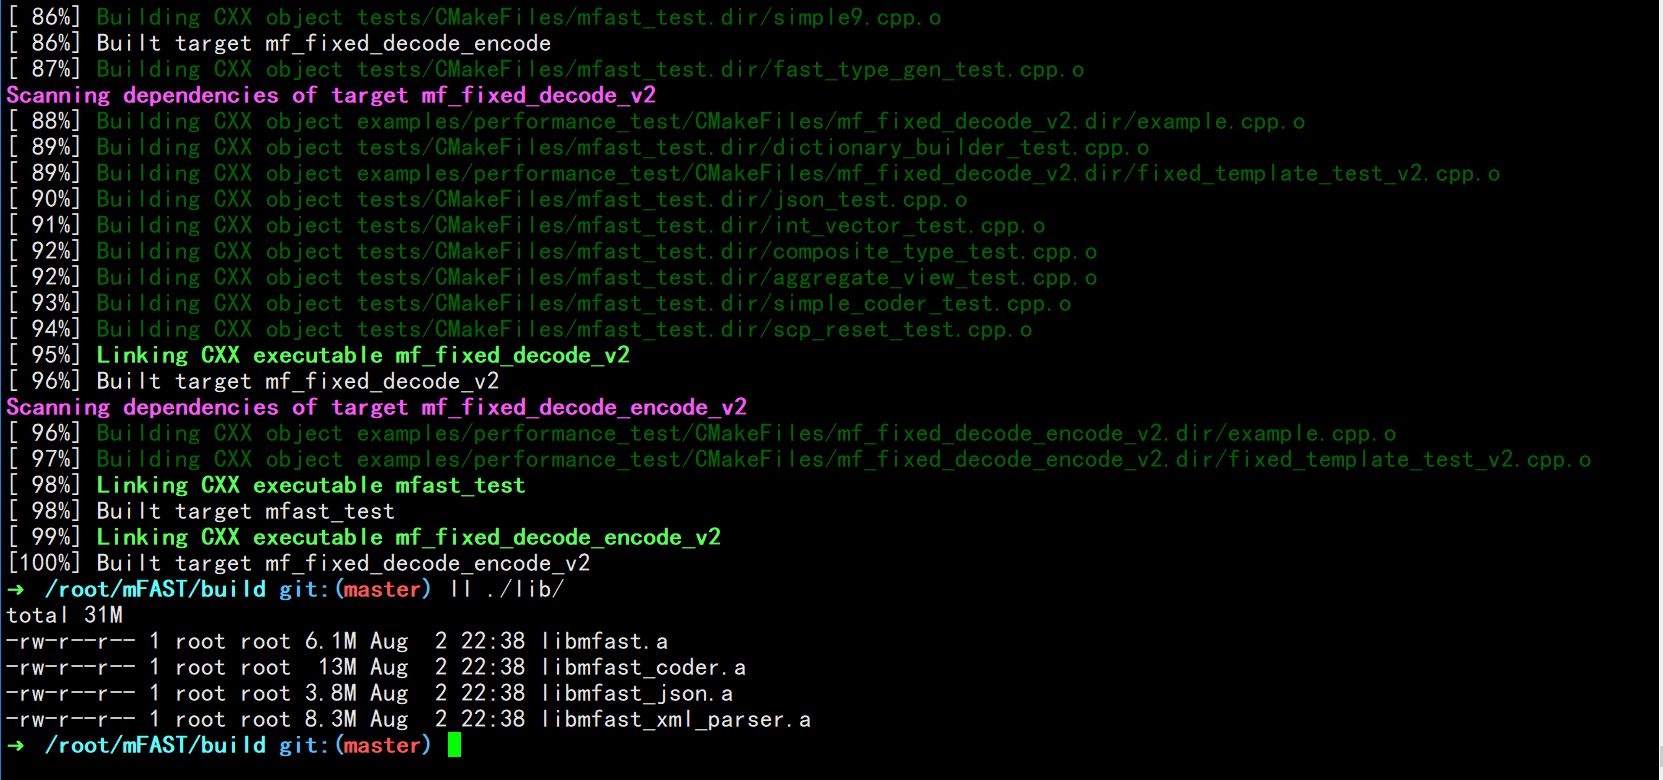
接下来就是漫长的编译过程,如果是多核的话可以使用make -j8加速编译。

在mFast/build/lib/目录下的4个静态库就是最终成果了,另外在mFast/build/example/目录下有示例程序,对应示例程序的原码在mFAST/examples/
以上是Linux下的mFast编译过程,需要用到CMake。
在Windows下也差不多,不过Windows下就不止需要用到boost的hpp文件了,还需要boost的库,因此需要先编译一遍boost再去用CMake生成vs的sln解决方案文件,然后用vs编译即可。
github上的编译说明文档
在文档的末尾也给了一个简单的CMake file示例。
在mFAST/build/bin/下有一个程序fast_type_gen-1.3.0,用来将fast模板文件转换为mFast可识别的头文件,似乎用include头文件的方式效率会比直接读取xml模板文件高一些。
使用mFast进行解码
hello world
这是example里最简单的例子,源代码就一个cpp文件,位于 mFAST/examples/hello_world/hello_world.cpp
1
2
3
4
5
6
7
8
9
10
11
12
13
14
15
16
17
18
19
20
21
22
23
24
25
26
27
28
29
30
31
32
33
34
35
36
37
38
39
40
41
42
43
44
45
46
47
48
49
50
51
52
53
54
55
|
//模板文件写死
static const string fast_template =
    "\
<?xml version=\"1.0\" encoding=\"UTF-8\" ?>\
<templates xmlns=\"http://www.fixprotocol.org/ns/fast/td/1.1\">\
    <template dictionary=\"1\" id=\"1\" name=\"HelloWorld\">\
         <string id=\"58\" name=\"Text\">\
             <default value=\"\"></default>\
         </string>\
    </template>\
</templates>\
";
//一段FAST数据流
// 58=HelloWorld<SOH>
static const string fast_message =
    "\xE0\x81\x48\x65\x6C\x6C\x6F\x57\x6F\x72\x6C\xE4";

int main() {
  //模板读取构造
  dynamic_templates_description description(fast_template);

  const templates_description* descriptions[] = {&description};
  //声明一个fast解析器
  fast_decoder decoder;
  //使用对应模板
  decoder.include(descriptions);

  const char* start = fast_message.c_str();
  const char* end = start + fast_message.length();

  cout << "Decoding message \"58=HelloWorld<SOH>\":" << endl;
  cout << endl;
  //调用解析器decode方法解析数据
  message_cref msg = decoder.decode(start, end);

  cout << "Template id: " << msg.id() << endl;
  cout << "Template name: " << msg.name() << endl;
  cout << endl;
  //取msg的第一个字段
  ascii_string_cref field = static_cast<ascii_string_cref>((msg)[0]);

  cout << "Field id: " << field.id() << endl;
  cout << "Field name: " << field.name() << endl;
  cout << "Field content: " << field.c_str() << endl;
  cout << endl;

  cout << "Encoding message to JSON:" << endl;

  ostringstream json_message;
  //将解析结果转换为json格式
  bool result = encode(json_message, msg, 0);
  if (result) cout << "Success: " << json_message.str() << endl;

  return 0;
}
|
其中需要注意的是
1
2
|
//调用解析器decode方法解析数据
message_cref msg = decoder.decode(start, end);
|
FAST数据流里是有多条消息的,因此每次调用这个方法会转换出一条消息,并且会将start指针向后偏移到下一条消息开始的位置,因此需要循环调用该方法,直到start==end
1
2
3
4
5
6
7
8
9
|
for(size_t i=1;start!=end;++i){
  message_cref msg = decoder.decode(start, end, false);
  cout <<"["<<i<<"]"<< "Encoding message to JSON:" << endl;
  ostringstream json_message;
  result = encode(json_message, msg, 0);
  if (result){
    cout << "Success: " <<endl<< json_message.str() << endl<<endl;
  }
}
|
以上就是最基础的mFAST使用方法。
